


Giving Your Chimney a New Lease on Life: Battling Rot & Re-Siding
Chimneys are often the workhorses of our homes, battling wind, rain, and extreme temperatures. But over time, even the toughest chimney can succumb to wood rot. Recently, I tackled a project that involved fixing wood rot and installing new siding on a customer’s chimney. Here’s a look at the process:
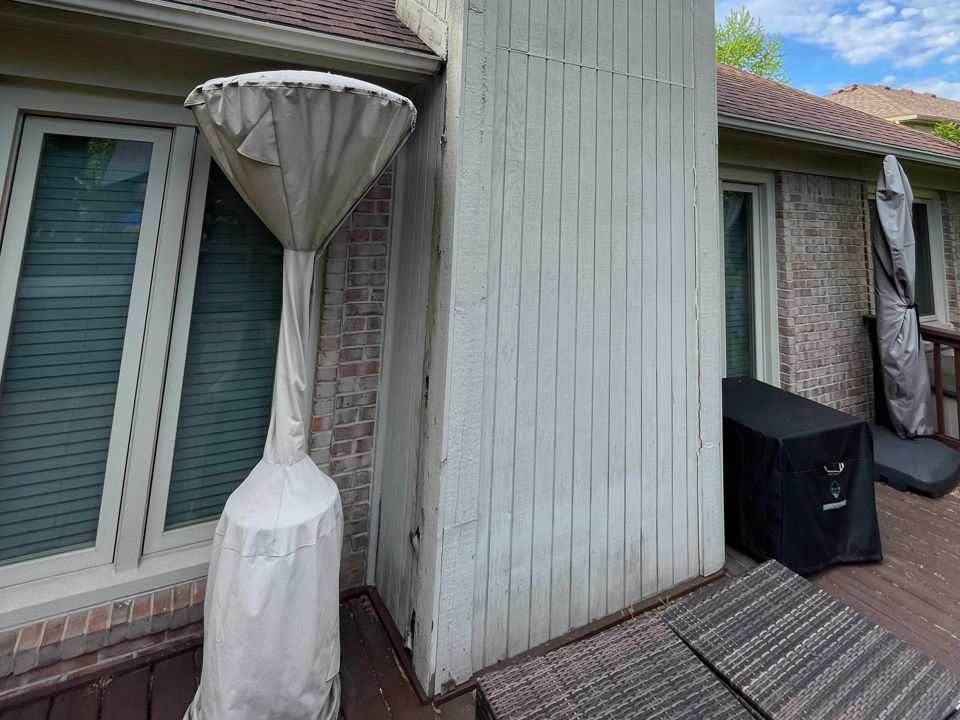
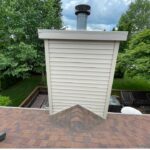
The Rot Reveal:
The first step was assessing the extent of the wood rot. Using a screwdriver, I gently probed the affected areas. Soft, crumbling wood indicated the presence of rot.
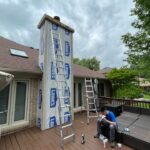
Taking Out the Trash (Wood, That Is):
Once the scope was clear, it was time for removal. Using a combination of tools like pry bars and saws, I carefully removed all rotted wood. It’s crucial to be thorough here, as any remaining rot can compromise the structural integrity of the chimney and lead to further problems.
Building it Back Better:
With a clean slate, I replaced the removed wood with new, rot-resistant lumber. Choosing the right wood type is essential. Pressure-treated lumber is a great option for its resistance to moisture and decay.
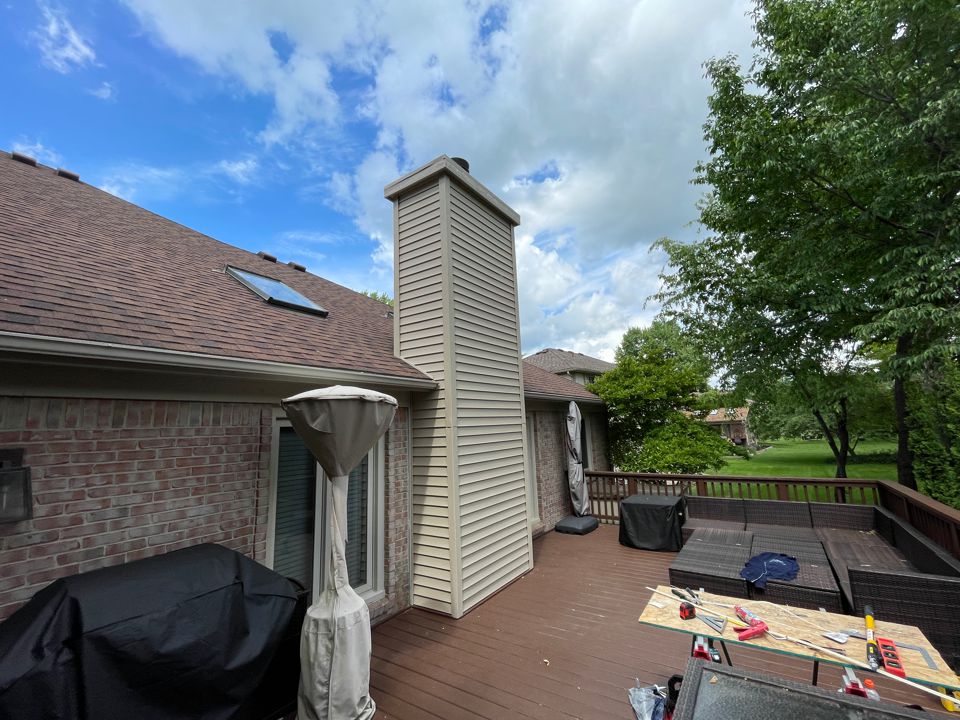
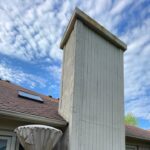
The Finishing Touch: New Siding
After ensuring a solid foundation, I installed the new siding. This not only enhances the aesthetics of the chimney but also adds an extra layer of protection against the elements. Here, using high-quality flashing around the base of the chimney and proper caulking of all seams is vital to prevent future water infiltration.
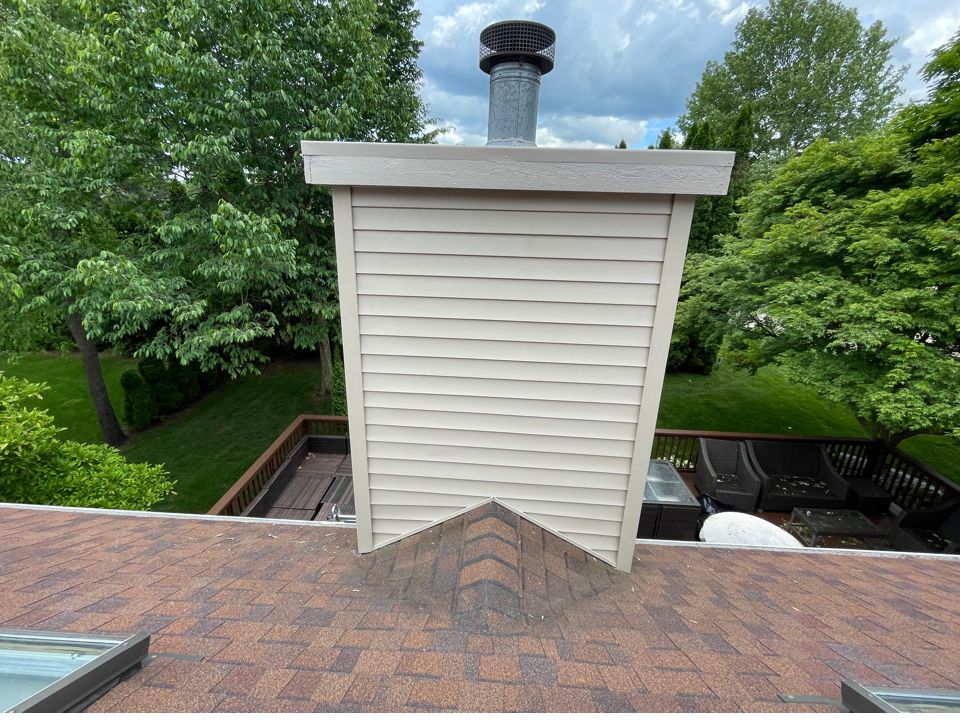
A Renewed Chimney:
By addressing the wood rot and installing new siding, I was able to give the customer’s chimney a new lease on life. This not only improves the curb appeal of their home but also ensures the safe and efficient operation of their fireplace or furnace.